Matcha Black Sesame Roll
By: Jens Food Lab
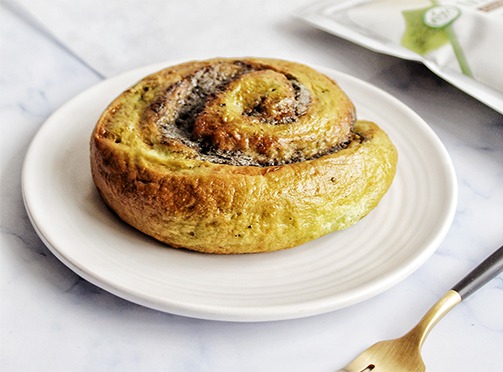
Matcha Black Sesame Rolls are fluffy, sweet, chewy and delicious, making it the perfect freshly baked treat to end or start your day.
SERVINGS: Enough to share
TIME: 3 hrs
CATEGORY: Desserts
![]() INGREDIENTS
INGREDIENTS
- Milk Bread Dough
- • 2½ cups (320g) all purpose flour (You can also use bread flour and reduce the kneading time)
- • ¼ cup (41g) sugar
- • ½ teaspoon sugar
- • 1 large egg
- • ½ cup of milk (You can substitute with ¼ cup of heavy cream plus ¼ cup water)
- • 2 tsp instant yeast
- • 3 Tbsp butter (Make sure to cut the butter into small pieces and that it’s softened at room temperature)
- • 1 seving of tangzhong
- Tangzhong
- • 6 Tbsp (43g) all purpose flour
- • ½ cup of water
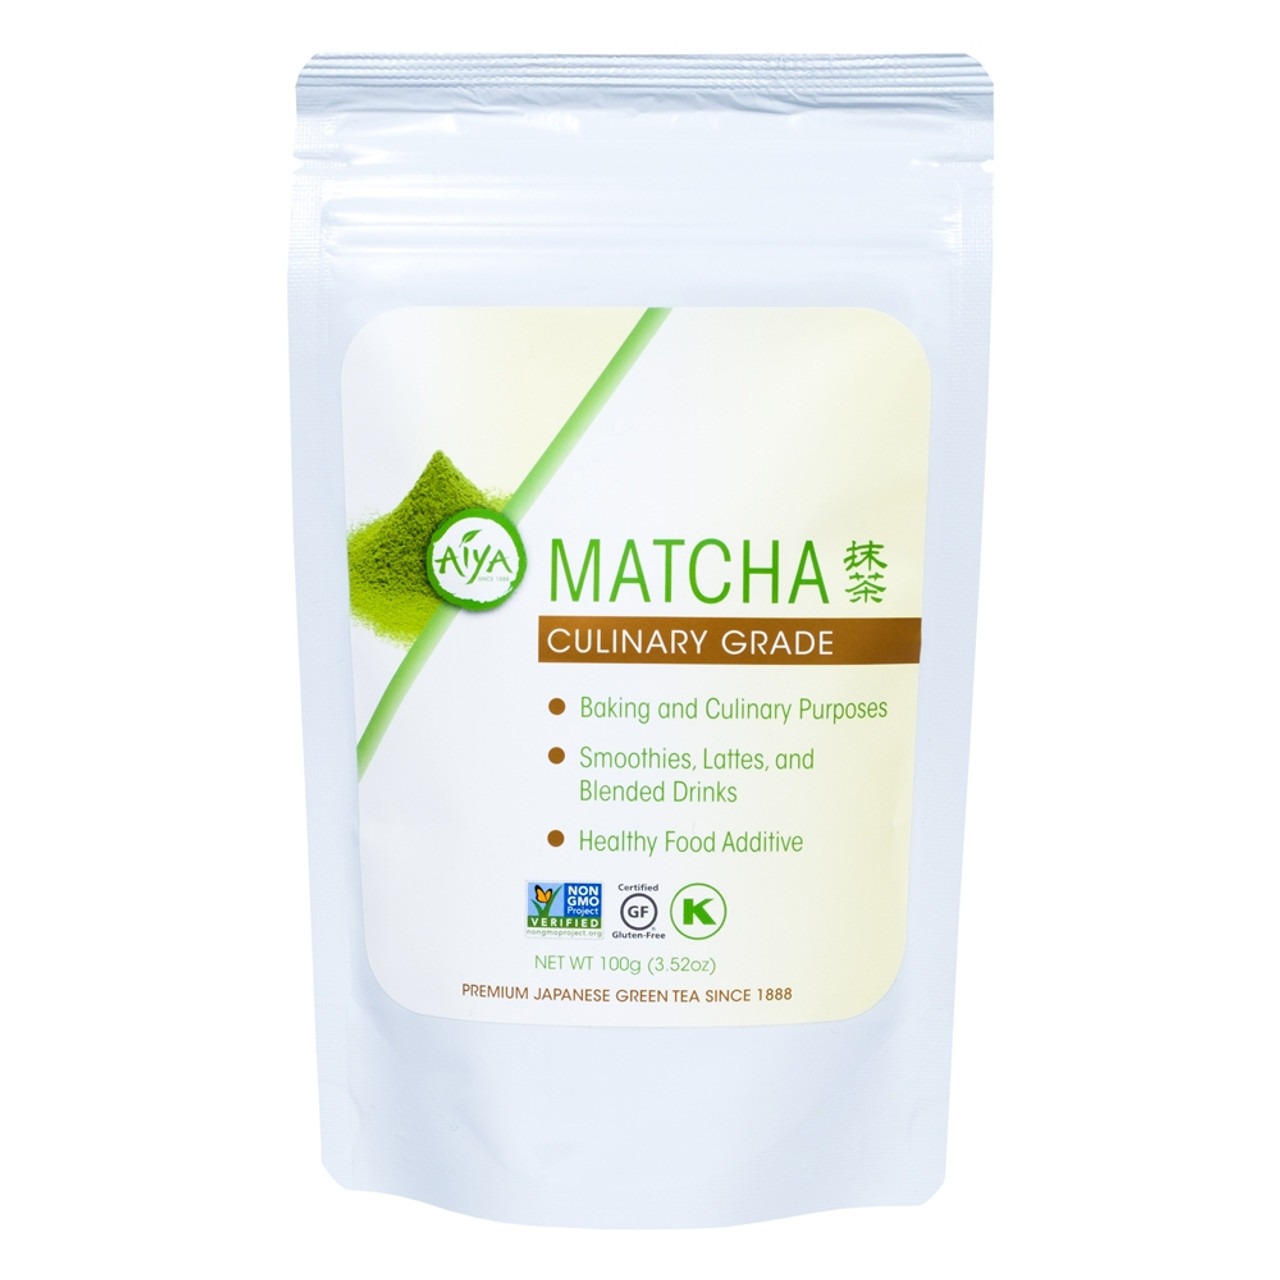
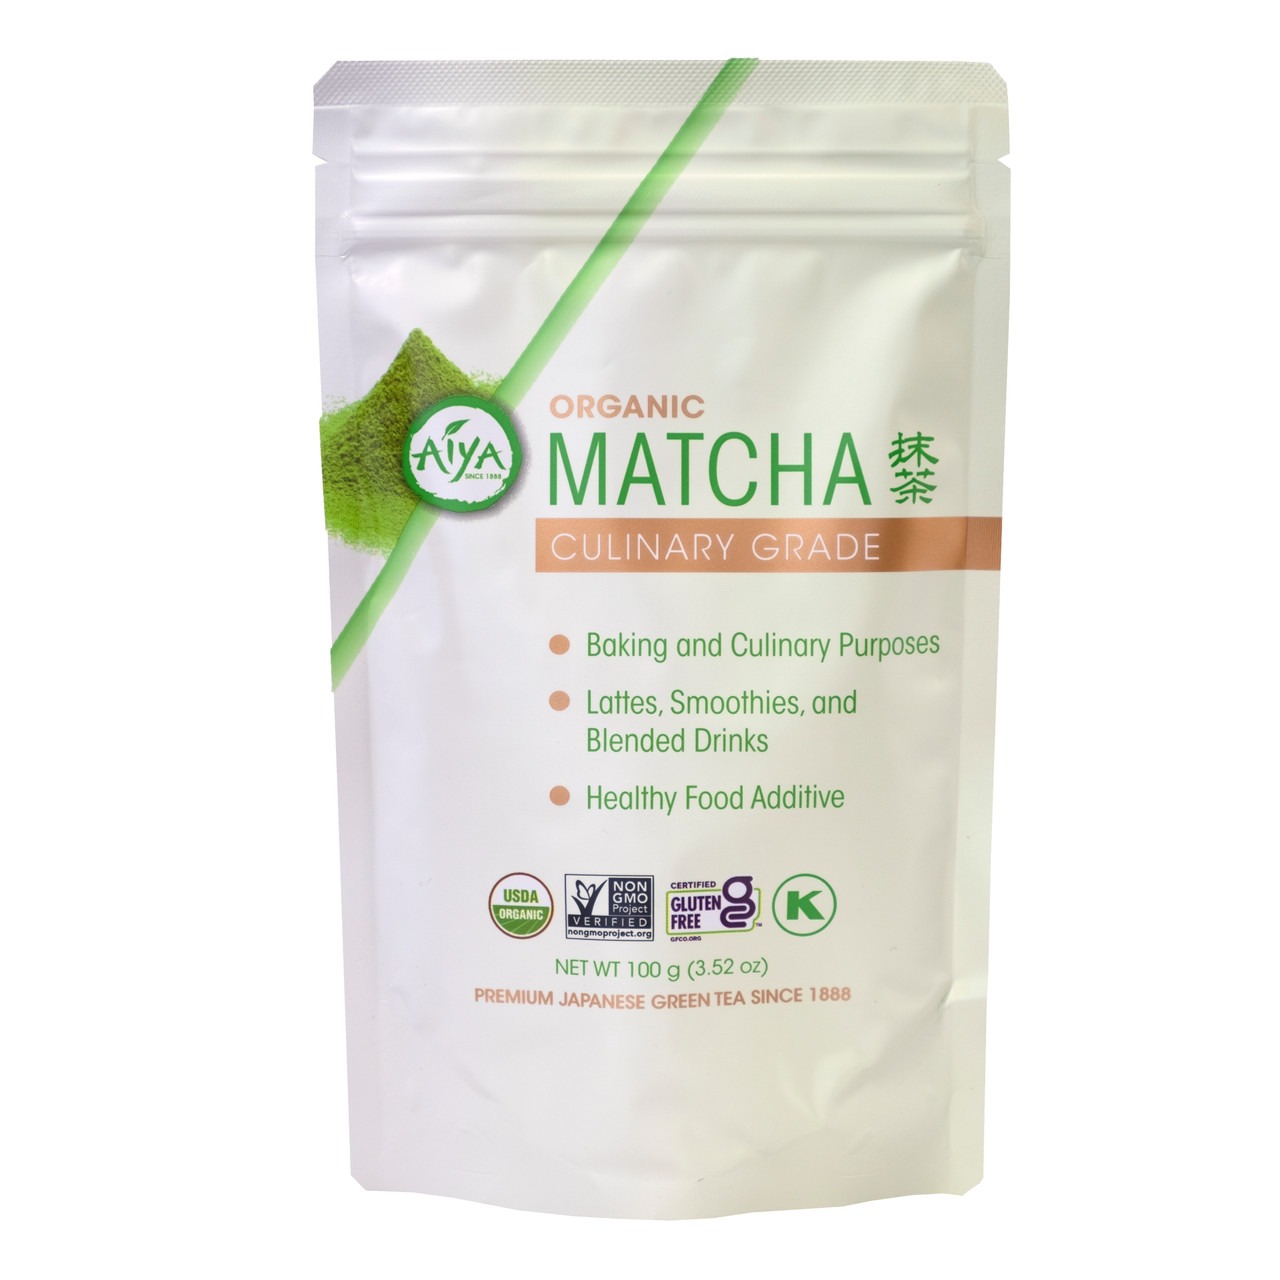
- • 3 Tbsp Aiya Matcha Culinary Grade Matcha Powder
- Black Sesame Filling
- • ½ cup softened butter
- • ½ cup black sesame powder
- • ½ cup (50g) sugar
- Egg Wash
- • 1 large egg
- • 1 Tbsp heavy cream
- • 1 tsp sugar
![]() DIRECTIONS
DIRECTIONS
- 1. First, let’s make the tangzhong, which is actually super simple and gives the milk bread its signature fluffy texture. Mix the 6 tablespoons of flour and water together. Whisk until the flour is completely dissolved there are no lumps.
- 2. Pour the mixture into a saucepan and turn on the heat to medium. Stir the mixture constantly as the mixture heats up. Cook the tangzhong until the mixture thickens. You should be able to draw “lines” in the mixture and the indent should remain for a little bit (it will be noticeable). If you have a thermometer, your mixture should be perfect at 149 degrees Fahrenheit (65 degrees Celsius). Once the mixture is just right, take it off the stove and let it cool until it’s lukewarm.
- 3. Add Matcha to the tangzhong mixture and mix until combined.
- 4. Next, let’s make the rest of the milk bread dough. In a bowl of a stand mixer, combine the flour, salt, sugar, and instant yeast. Make a well in the center of the dry ingredients. Add in all wet ingredients, which are the milk, eggs and the lukewarm tangzhong.
- 5. Using your stand mixer, mix on medium speed until the dough comes together. Then, add in the butter and continue mixing/kneading. Keep kneading until it is a smooth dough that shouldn’t be too sticky and have some elasticity. It took me around 20 minutes to mix the dough to this point. Since this timing may be variable, keep checking for elasticity and stretchiness. (You can knead the dough by hand totally, but it can be very, very, very tiring).
- 6. Now, it’s time to proof the dough. Place the dough into a large greased bowl. Cover with a wet towel, and let the dough proof until it’s doubled in size, about an hour. My trick to to heat up my oven for a few minutes, turn the oven off, and then place the bowl of dough into the warmed oven. To let the flavor develop more, you can also proof the dough in the refrigerator overnight.
- 7. Now, it’s time to make the filling. In a bowl, add softened butter, black sesame powder, and sugar. Mix until well combined.
- 8. Now, back to the milk bread dough, after proofing, move the dough to a clean surface and roll out dough into a large rectangle, about 1/3 inch thick. Using a spatula, spread the black sesame filling all around the dough rectangle, leaving a border around the outside.
- 9. Then, from the shorter side of the rectangle, start rolling the dough tightly into a log, similar to how you would roll a cinnamon roll where the filling ends up on the inside.
- 10. Line a sheet pan with parchment paper. Once you’ve formed the dough log, dust a knife with some flour and slice the dough into 12 taro rolls. Place each roll onto the parchment paper.
- 11. Next, it’s time to proof the rolls. Place a wet towel over the sheet pan and let it rise until it’s double in size (about an hour).
- 12. Preheat the oven to 350 degrees.
- 13. Next, let’s make the egg wash. In a small bowl, add the egg, milk, and sugar. Mix until evenly combined. Brush the tops of each of the taro rolls with the egg wash.
- 14. Finally, bake the rolls at 350 degrees until the top is golden brown, approximately 30 minutes. You’re done!
SHOP THE POST
To learn more about the Matcha used in this recipe, click on one of the product links below.
