Matcha Choux Au Craquelin
By: Bears and Butter
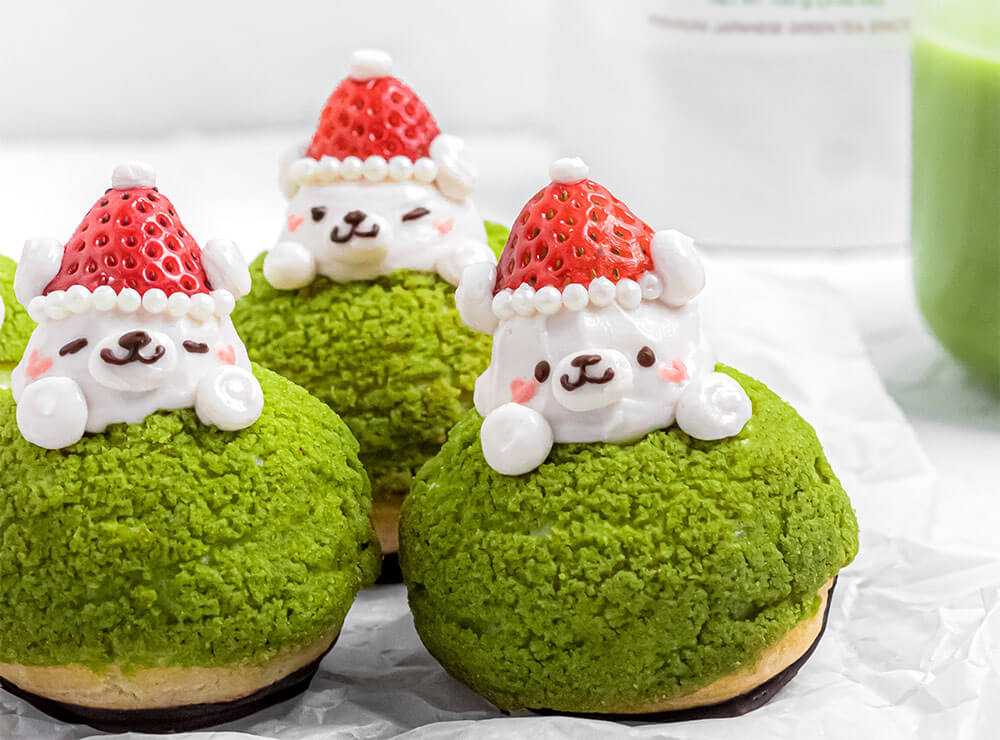
These bear-y cute cream puffs are the perfect dessert to bring to your next holiday party. But beware, they may be too cute to eat!
SERVINGS: Enough to share
TIME: 5 hrs, 30min
CATEGORY: Desserts
![]() INGREDIENTS
INGREDIENTS
- Craquelin Crust:
- ● 3 Tbsp (42g) butter, softened
- ● ¼ cup (50g) light brown sugar
- ● 6 Tbsp (47g) all-purpose flour
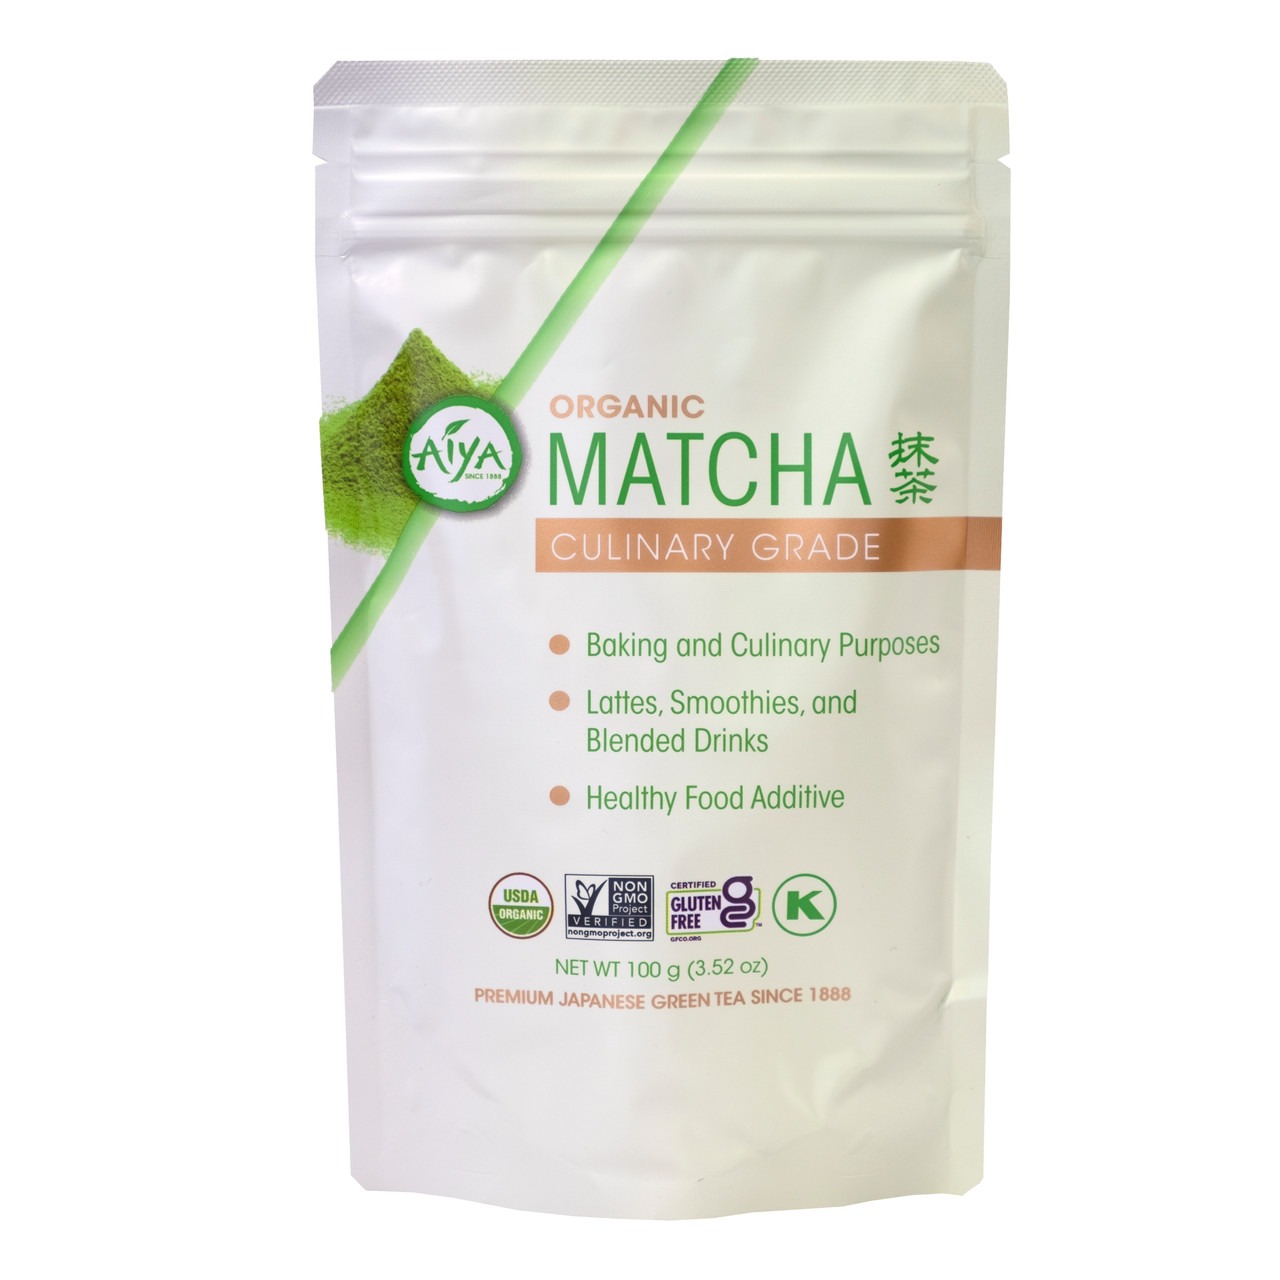
- ● 1 Tbsp (6g) Aiya Culinary Matcha, sifted
- ● 1 pinch salt
- Choux Pastry:
- ● ½ cup (120mL) cold water
- ● 4 Tbsp (28g) unsalted butter
- ● 1 pinch salt
- ● ½ cup (60g) all-purpose flour
- ● 2 large eggs, room temperature
- ● 1 (4 oz) bar dark chocolate, chopped
- Matcha Pastry Cream:
- ● 1 cup (240mL) whole milk
- ● ½ tsp vanilla extract (or ½ vanilla bean split lengthwise, seeds scraped)
- ● 3 egg yolks
- ● ⅓ cup (67g) granulated sugar
- ● 2 Tbsp (18g) cornstarch
- ● 1 Tbsp (15g) unsalted butter, cold
- ● 1 cup (240mL) cold heavy whipping cream
- ● 2 Tbsp confectioners’ sugar (granulated sugar OK)
- ● ½ tsp vanilla extract
- ● ½ Tbsp Aiya Culinary Matcha, sifted
- Swiss Meringue Cream for Bear Decorations:
- ● 1.5 Tbsp pasteurized liquid egg whites
- ● ¾ cup (75g) confectioners’ sugar
- ● Pinch of salt
- ● 6 Tbsp unsalted butter,room temperature
- ● ¼ tablespoon vanilla extract
- Decorations for Bear Decorations:
- ● Leftover melted chocolate from “Choux Buns”- Step 8
- ● 6-8 washed strawberries, cut to about ¾” or 1.9cm long from the tip
- ● Pastry bag with coupler and two piping tips ○ ¾” (or 1.9cm) wide tip ○ 0.05” (or 0.125cm) wide tip
- ● Toothpick or cookie scribe
![]() DIRECTIONS
DIRECTIONS
- Choux Buns:
- 1. Mix all craquelin crust ingredients in a large bowl using a spatula until a dough forms. Place dough inside a zip-top bag. Roll dough to ¼” thickness. Freeze dough until ready to use.
- 2. Preheat the oven to 450°F (230°C). Line a baking sheet with a silicone mat or parchment paper.
- 3. Combine water, butter, and salt in a saucepan; bring to a simmer over medium heat. Add flour; stir with a wooden spoon until mixture comes together into a smooth dough and pulls away cleanly from the bottom of the pan. Transfer to a bowl and spread out with a spatula to speed up cooling. Cool until warm, about 10 minutes.
- 4. Whisk eggs, one at a time, into the pastry, mixing well after each addition. Finish mixing with a spatula. Scoop pastry into a pastry bag and pipe into 6-8 buns on the baking sheet.
- 5. Use a cookie cutter to cut the frozen craqrueline crust into circles about the diameter of the buns. Lightly push crusts onto the buns, just enough to secure them.
- 6. Place buns in the preheated oven. Immediately reduce heat to 350°F (175°C) and bake until browned and fully puffed, 30 to 40 minutes. Transfer buns onto a cooling rack and place rack back on the baking sheet. Place in the turned-off oven, leave door partially open, and let cool completely, at least 20 minutes.
- 7. Melt chocolate in a microwave-safe glass 15-second intervals, stirring after each interval, 1 to 3 minutes.
- 8. Spread melted chocolate onto a small plate and place the bottoms of the buns onto the chocolate to evenly coat the bottoms. Place chocolate coated buns onto a sheet lined with parchment paper. Let chocolate harden, about 1 hour.
- Matcha Pasty Cream:
- 1. Add the milk and vanilla extract (or scraped vanilla bean seeds) to a medium saucepan, heat then place over medium heat and bring to a boil. a. If using vanilla bean: immediately turn off the heat and set aside to let milk and vanilla bean to infuse for 15 minutes.
- 2. In a bowl, whisk the egg yolks and sugar until light and fluffy. Add the cornstarch and whisk vigorously until no lumps remain.
- 3. Whisk in 2 tablespoons of the hot, vanilla milk mixture until incorporated. Whisk in the remaining hot milk mixture, reserving the saucepan.
- 4. Pour the mixture through a strainer back into the saucepan. Cook over medium-high heat, whisking constantly, until thickened and slowly boiling.
- 5. Remove from the heat and stir in the butter. Let cool slightly.
- 6. Cover with plastic wrap, lightly pressing the plastic against the surface to prevent a skin from forming.
- 7. Chill at least 2 hours or until ready to serve. The custard can be made up to 24 hours in advance.
- 8. Meanwhile, whip the heavy cream, sugar, vanilla extract, and Aiya culinary Matcha on medium-high speed with a hand-mixer (or standing mixer with whisk attachment) until medium peaks form, about 3–4 minutes. Using a spatula, fold in the completely cooled custard into the Matcha cream. Fill a pastry bag with the cream. a. To make the optional Christmas Bear decoration, refer to Step 10.
- 9. To fill the puffs, first cut a small hole out of the surface of each bun along the cracks. Pipe the desired amount of pastry cream inside and replace the missing piece. Serve immediately, refrigerate up to 2-3 days, or freeze up to 2-3 weeks.
- Bear Decorations:
- 1. Combine the egg whites, powdered sugar, and salt in the bowl of a large stand mixer fitted with a paddle attachment. Mix everything together on low speed, until the sugar is moistened and no dry patches remain. Turn off the mixer, scrape down the sides and bottom of the bowl with a spatula, then turn the mixer to medium speed. Beat on medium for 5 minutes.
- 2. After 5 minutes, turn the mixer to medium-low and start adding the softened room temperature butter, 1-2 tablespoons at a time. Once all of the butter is incorporated, add the vanilla extract and mix it in. Stop the mixer and scrape down the bottom and sides once more. Turn the speed to medium and beat the buttercream for 10 minutes. At the end, you’ll have a frosting with a wonderfully light and creamy texture.
- 3. Fill pastry bag with coupler and attach the ¾” (or 1.9cm) wide tip. Pipe a sphere of the Swiss meringue cream, about 1.25” or 3.2cm tall, on top.
- 4. Put a strawberry on top, with the tip facing up. Switch the piping tip to the 0.05” (or 0.125cm) wide tip and decorate the Santa hat, bear ears, paws, and muzzle.
- 5. Using a toothpick or cookie scribe, decorate the bear face using the melted chocolate.
- 6. Celebrate your labors of love and enjoy!
SHOP THE POST
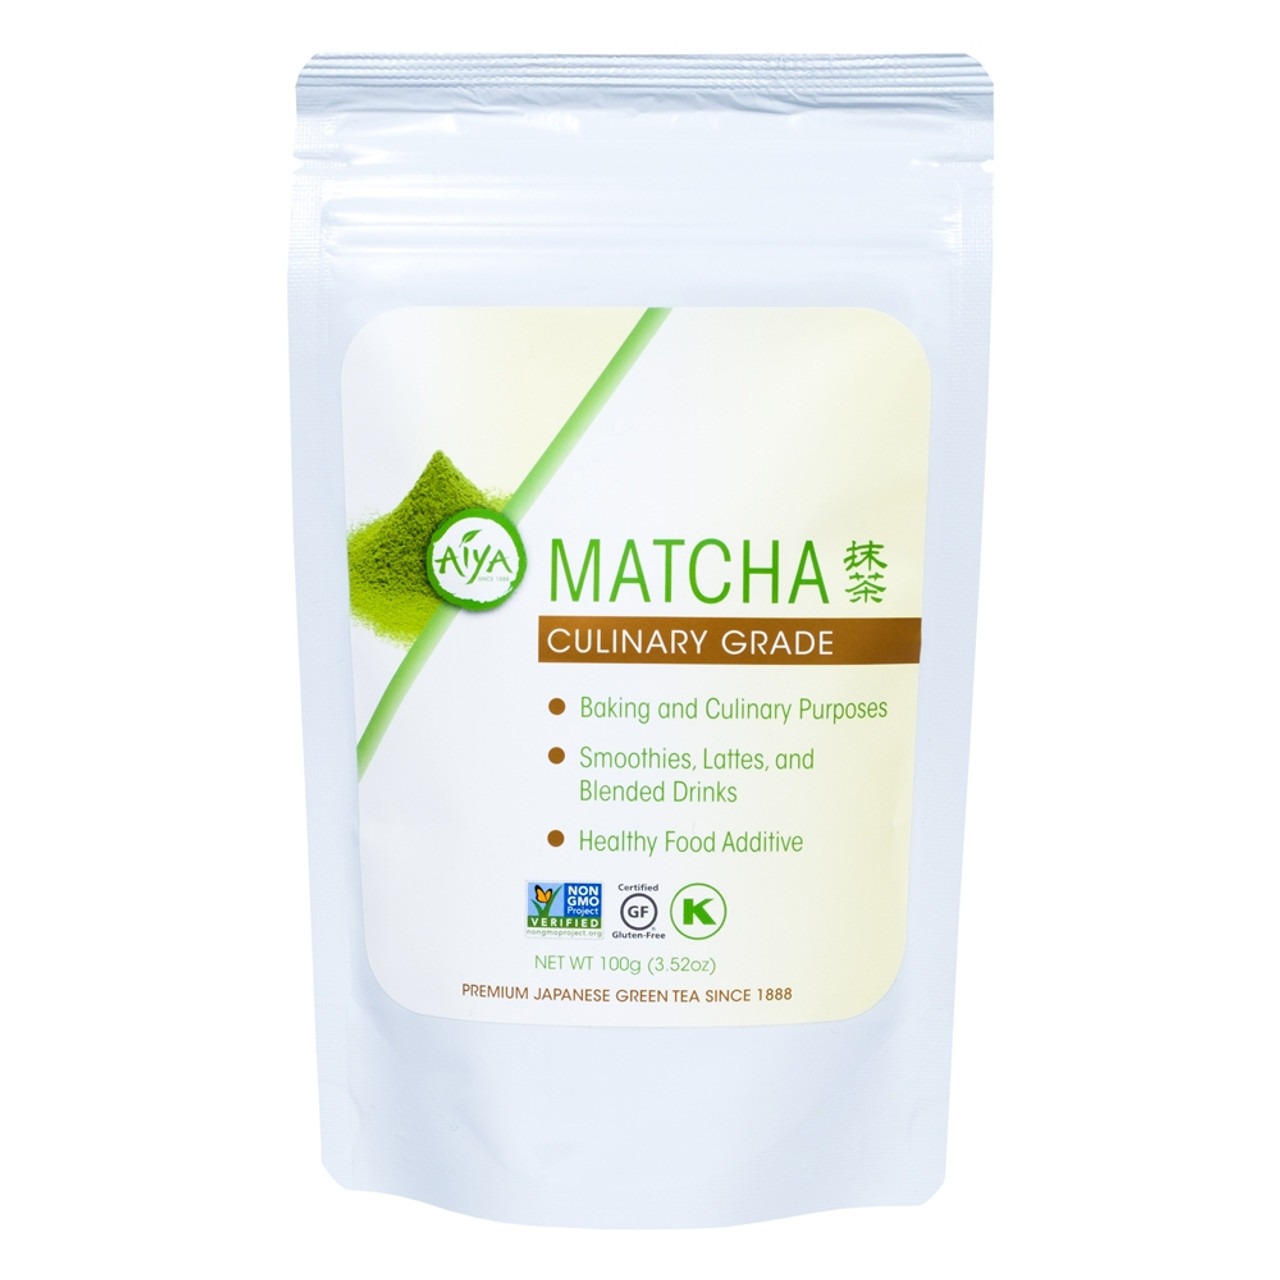
To learn more about the Matcha used in this recipe, click on one of the product links below.
